Fight at Lee's Hill, May 3
Introduction
Text-to-speech Audio
Images
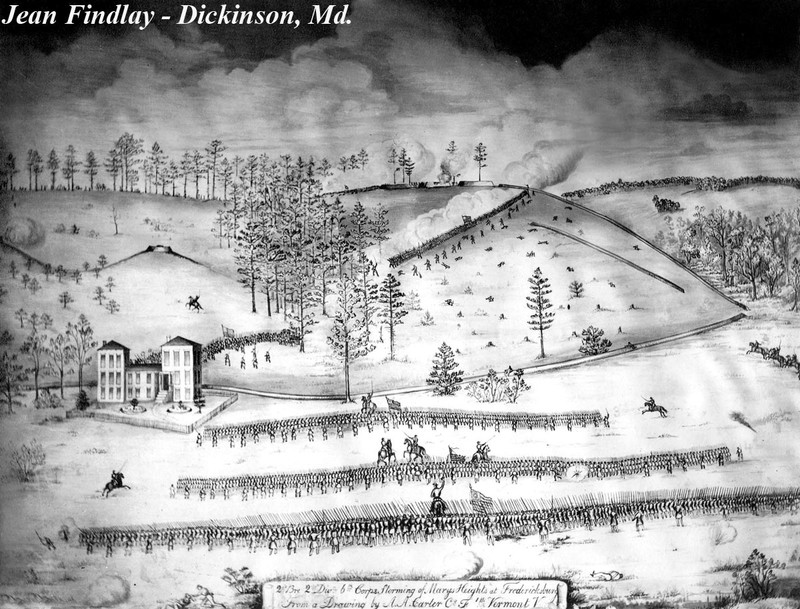
Sketch by Albert A. Carter (4th Vermont) of the attack on Lee's Hill
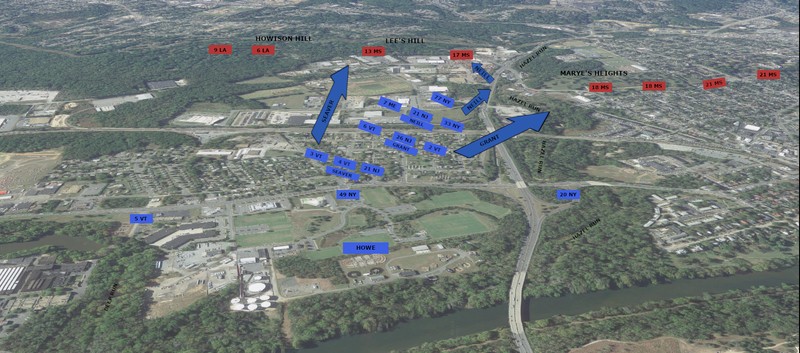
Howe's Division attacks Marye's Heights and Lee's Hill (map by Kathleen Thompson)
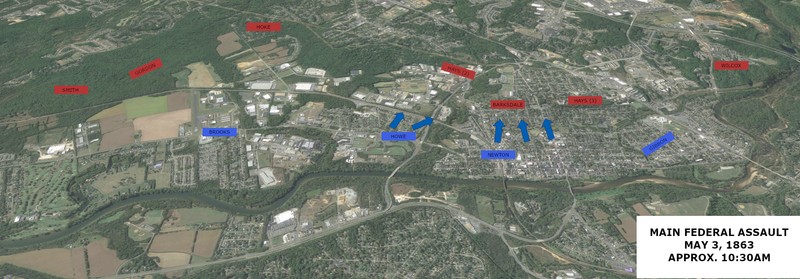
Howe's attack coordinated with the attack by Newton on Marye's Heights (map by Kathleen Thompson)
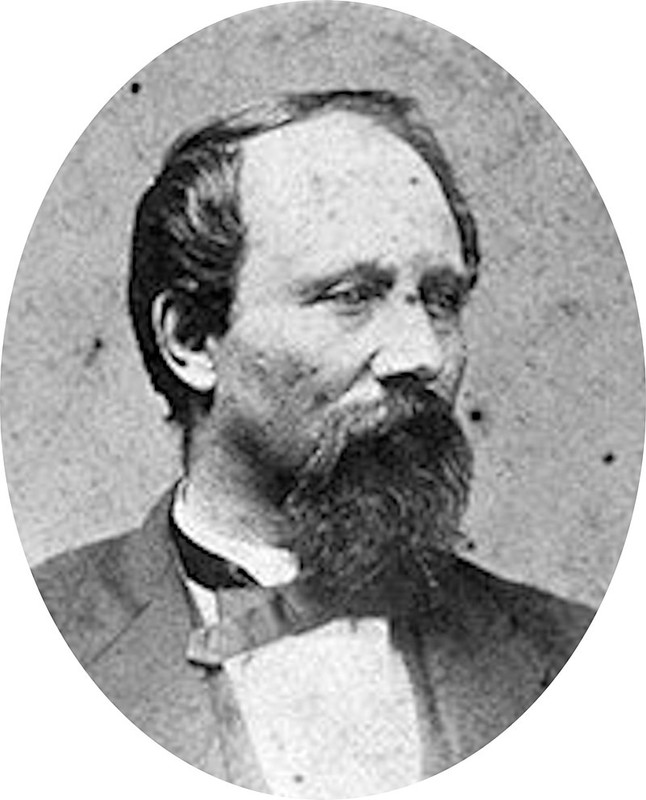
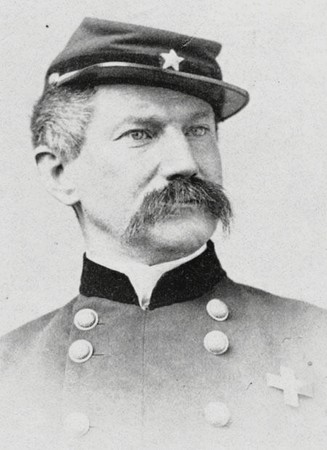
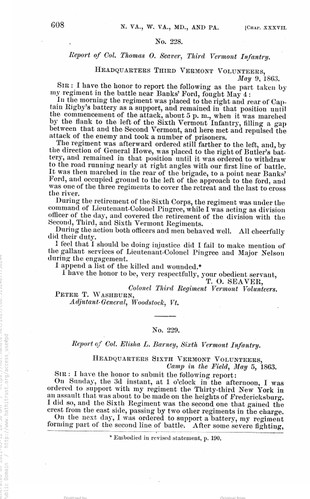
Colonel Thomas O. Seaver (Photographed in 1875)
Brigadier General Thomas Neill
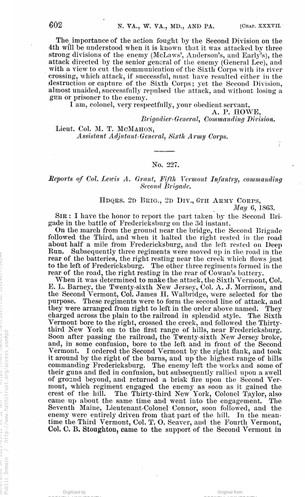
Report of Col. Lewis A. Grant, page 1
Report of Col. Lewis A. Grant, page 2
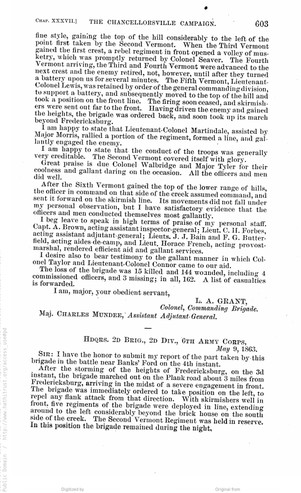
Report of Col. Elisha L. Barney, 6th Vermont, page 1
Report of Col. Elisha L. Barney, 6th Vermont, page 2
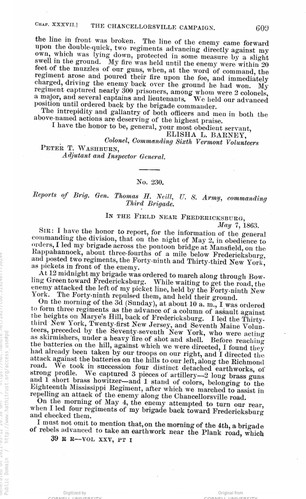
Report of Brig. Gen. Thomas H. Neill, page 1
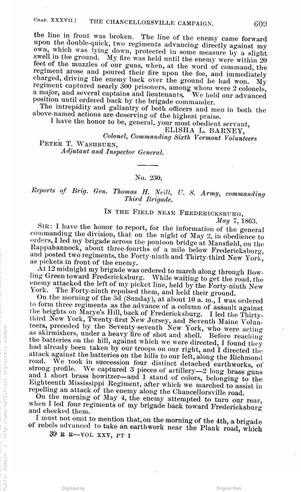
Report of Brig. Gen. Thomas H. Neill, page 2
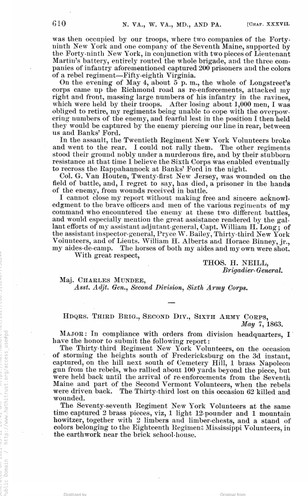
Report of Brig. Gen. Thomas H. Neill, page 3
Backstory and Context
Text-to-speech Audio
To the Union left of Marye’s Heights two of Howe’s Second Division lines assaulted Lee’s Hill. The third battle line, the 3rd and 4th Vermont and part of the 21st New Jersey commanded by Col. Seaver, veered left to avoid the broken line of the 26th New Jersey ahead of them and aimed towards Lee’s Hill. Seaver’s men were lucky as they advanced across the railroad embankment and towards the Confederate line. The artillery on Howison Hill fired once at the oncoming Federals and then withdrew their guns and the artillery on Lee’s Hill was aimed away from them firing towards the battle on Marye’s Heights. The 6th and 9th Louisiana at the base of the hill opened fire on the Union line, but they also saw Howe’s first battle line (Neill’s) making their way up Hazel Run and retreated to a position on the top of the heights.
The line of battle under Thomas Neill had been the first of Howe’s lines to step off, but in their trajectory towards Willis Hill/Marye’s Heights they had to make their way through the boggy, wet ravine of Hazel Run which slowed them down. Moving up the ravine, Neill found that Marye’s Heights was being taken by Burnham’s assault joined by Grant’s men (Howe’s second battleline). Neill changed the momentum of his line to the left towards the Telegraph Road and Lee’s Hill. While Seaver’s men worked up the left side of Lee’s Hill, Neill led the 21st New Jersey, 7th Maine, 33rd New York, and 77th New York up the right side. The 5th Vermont, held in reserve until this point, moved forward to join Seaver’s troops in taking Lee’s Hill.
With the Confederates pushed off Marye’s Heights and Lee’s Hill the Federal forces started rejoicing their victory on the heights. Sedgwick’s VI Corps lost 1,500 men killed and wounded in the assault. Casualty numbers are not accurate for the Confederate side, but Barksdale reported 600 casualties on Marye’s Heights and the VI Corps provost marshal recorded 500 Confederate prisoners taken.
Sources
Furgurson, Ernest B. Chancellorsville, 1863: The Souls of the Brave. New York: Vintage Books, 1992.
Gallagher, Gary W. The Battle of Chancellorsville. National Park Civil War Series. Eastern National, 2007.
Parsons, Philip W. The Union Sixth Army Corps in the Chancellorsville Campaign: A Study of the Engagements of Second Fredericksburg, Salem Church and Banks’s Ford, May 3-4, 1863. Jefferson, NC: McFarland & Company, Inc., 2006.
Sutherland, Daniel E. Fredericksburg and Chancellorsville: The Dare Mark Campaign. Lincoln: University of Nebraska Press, 1998.
Mink, Eric. "If these signatures could talk...: Braehead Graffiti." Mysteries & Conundrums, July 30, 2013. Accessed May 12, 2021. https://npsfrsp.wordpress.com/2013/07/30/if-these-signatures-could-talk-braehead-graffiti/.
Map by Kathleen Thompson
Map by Kathleen Thompson
"Thomas O. Seaver." Wikipedia. Accessed May 6, 2021. https://en.wikipedia.org/wiki/Thomas_O._Seaver.
"Thomas H. Neill." Wikipedia. Accessed May 6, 2021. https://en.wikipedia.org/wiki/Thomas_H._Neill.
The War of the Rebellion: A Compilation of the Official Records of the Union and Confederate Armies. Series I-Volume XXV-Part I-Reports, page 602. Accessed May 12, 2021. https://babel.hathitrust.org/cgi/pt?id=coo.31924077730244&view=1up&seq=3.
The War of the Rebellion: A Compilation of the Official Records of the Union and Confederate Armies. Series I-Volume XXV-Part I-Reports, page 603. Accessed May 12, 2021. https://babel.hathitrust.org/cgi/pt?id=coo.31924077730244&view=1up&seq=3.
The War of the Rebellion: A Compilation of the Official Records of the Union and Confederate Armies. Series I-Volume XXV-Part I-Reports, page 608. Accessed May 12, 2021. https://babel.hathitrust.org/cgi/pt?id=coo.31924077730244&view=1up&seq=3.
The War of the Rebellion: A Compilation of the Official Records of the Union and Confederate Armies. Series I-Volume XXV-Part I-Reports, page 609. Accessed May 12, 2021. https://babel.hathitrust.org/cgi/pt?id=coo.31924077730244&view=1up&seq=3.
The War of the Rebellion: A Compilation of the Official Records of the Union and Confederate Armies. Series I-Volume XXV-Part I-Reports, page 609. Accessed May 12, 2021. https://babel.hathitrust.org/cgi/pt?id=coo.31924077730244&view=1up&seq=3.
The War of the Rebellion: A Compilation of the Official Records of the Union and Confederate Armies. Series I-Volume XXV-Part I-Reports, page 610. Accessed May 12, 2021. https://babel.hathitrust.org/cgi/pt?id=coo.31924077730244&view=1up&seq=3.
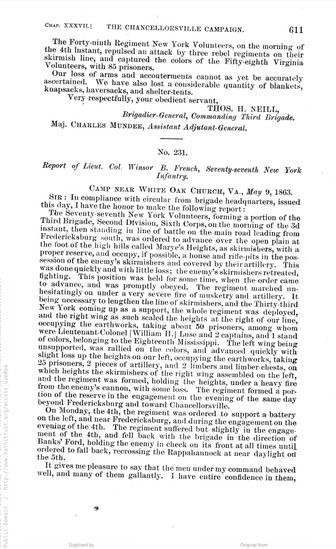
The War of the Rebellion: A Compilation of the Official Records of the Union and Confederate Armies. Series I-Volume XXV-Part I-Reports, page 611. Accessed May 12, 2021. https://babel.hathitrust.org/cgi/pt?id=coo.31924077730244&view=1up&seq=3.